Adobe Launches Lightroom 6 Photo App Update The Next Web
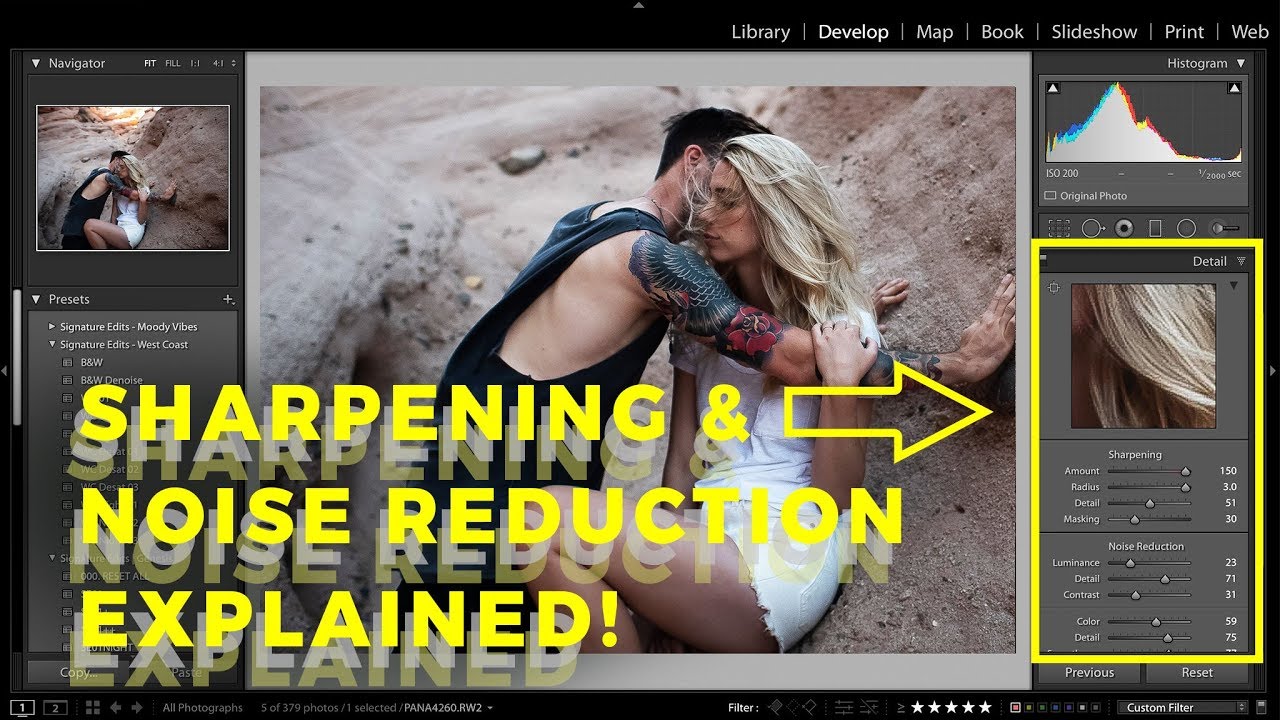
Use The Details Tab in Lightroom Like The Pros Do Share: One of the last, and arguably most important stages of post production is sharpening and noise reduction. In Lightroom, Adobe has placed both of these tools in a tab called Detail in the Develop Module.

Pin on & Lightroom
🎥 MASTER Lightroom Classic Playlisthttps://www.youtube.com/playlist?list=PL1CskNp6eYZji-H4w-naMnJ7l3-F70rqFIn this light room masterclass tutorial, I will s.
How to Use the Transform Panel in Lightroom Classic Contrastly
details panel giovannic88371833 New Here , Mar 29, 2017 I have seen several tutorial showing the "details panel" but I cannot find in my lightroom CC version any suggestion? 249 Translate Report 1 Correct answer F. McLion • Community Expert , Mar 29, 2017 Right click on any header (i.e. Basic, except top one) and put a check mark next to Details.
How to use the DETAIL PANEL in LIGHTROOM YouTube
1. Select a photo to edit. Select a photo in the Library module and press D to switch to the Develop module. To switch to a different photo in the Develop module, choose it from the Collections panel or the Filmstrip. 2. Evaluate the photo.

Learn how to use the Detail Panel in Lightroom! Lightroom, Videos tutorial, Photography
Topics covered in this Lightroom tutorial: Sharpening within the Detail panel, Sharpening part of the photo using a mask. Exercise Preview. Exercise Overview. In this exercise, you'll learn how to use Lightroom's sharpening features. Sharpening Within the Detail Panel. If you have not imported the photos that were imported in Exercise 2E:
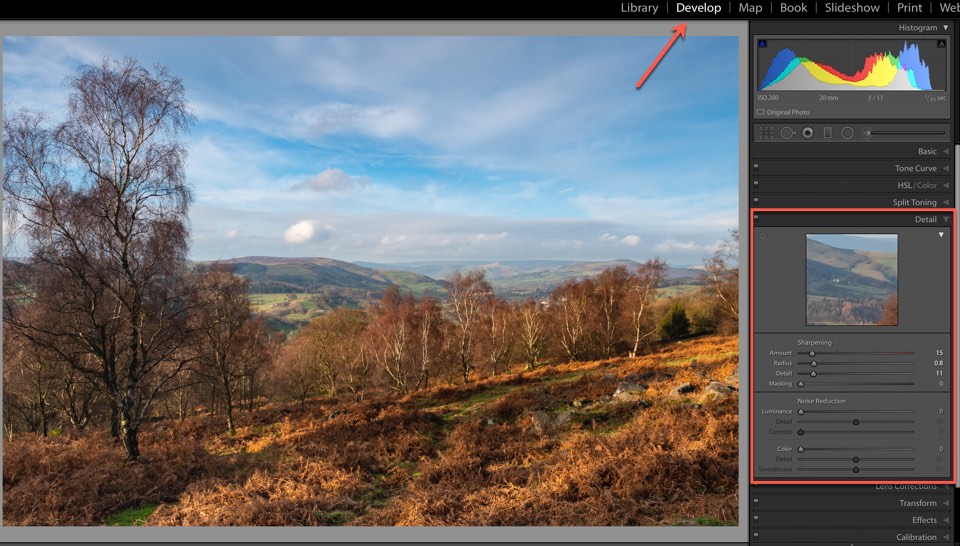
Image Sharpening with Lightroom Lenscraft
Step 1: Click on the Manual Noise Reduction option. As with Lightroom's Denoise tool, you'll need need to start by opening your image and accessing the Develop module. Find the Detail panel, then click on Manual Noise Reduction. A group of sliders will appear, including options to reduce both luminance noise and color noise:
LightroomClassicCCDetailPanel Schubert Photography
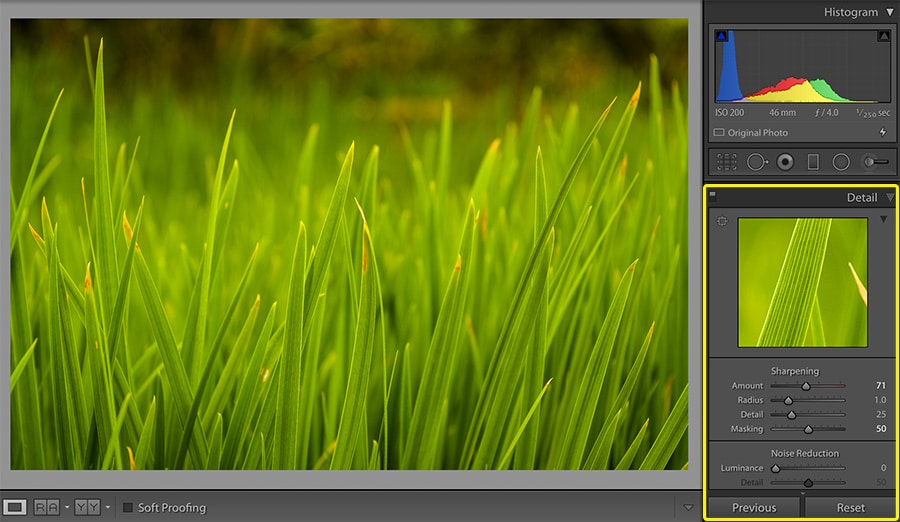
Next in the detail panel is the Radius Slider which lets you control how far away from the center of each pixel the sharpening effect occurs. This is great for determining if you'd prefer a more airy feel (smaller radius) or a more hard edge feel (larger radius).
How To Sharpen In Lightroom Mobile How To Properly Resize Images In Lightroom / And output
Join Daniel Gregory for Lesson 17: Editing A Photograph: Detail Panel of Adobe Lightroom Classic CC Workflow for Photographers on CreativeLive. Available with seamless streaming across your devices. Get started on your creative journey with the best in creative education taught by world-class instructors. Watch a free lesson today.

Lightroom Panel and Spots YouTube
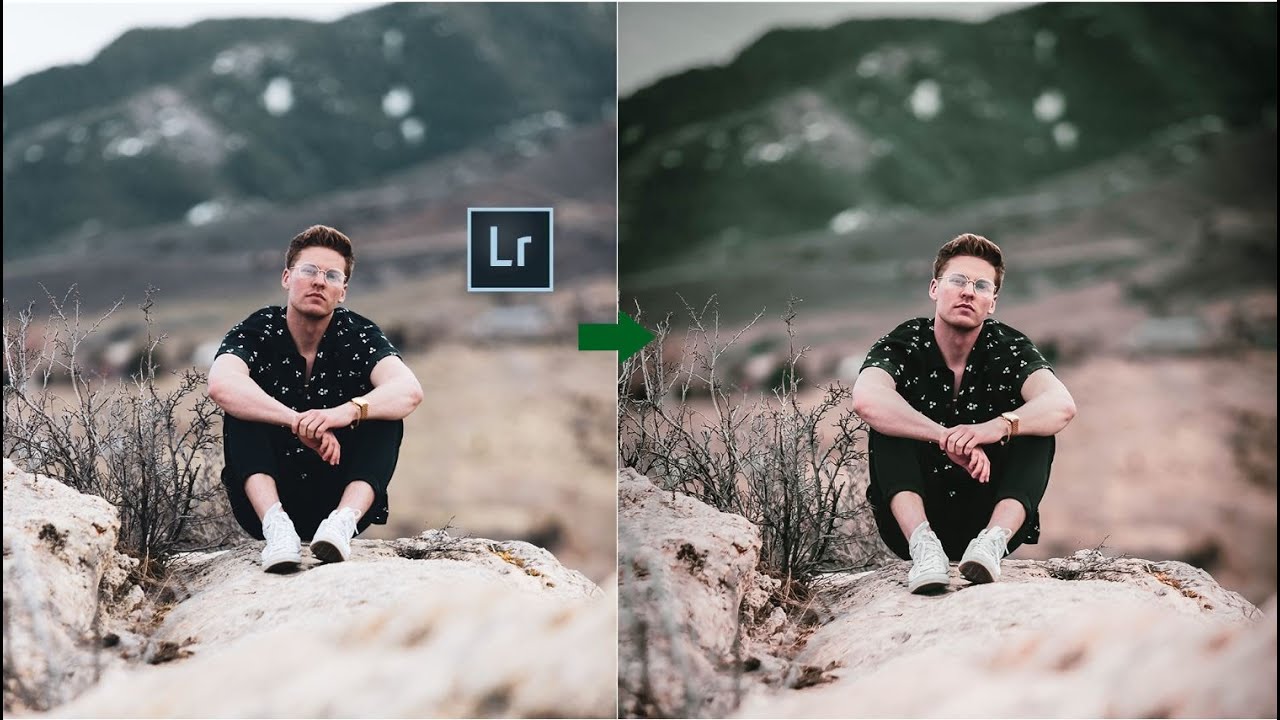
The Effects and Detail panels are two features of Lightroom CC that, although not new, work together seamlessly to powerfully bring out new details and depth to shots. They combine a lot of useful but incremental adjustments that include changing contrast, sharpness and noise for a drastically different photograph.

Sharpening in Lightroom Make the Most Out of the Detail Panel Fstoppers
Ctrl (Command)-click a panel to open/close all. The Settings 1) Treatment The very first setting you can change in the Basic Panel is the Treatment of the image.

Sharpening Images with the Detail Panel in Lightroom 4 From the Lightroom 4 A to Z on
FREE trial for SkillShare https://bit.ly/3xKQ2HAEASIEST site to build a portfolio https://bit.ly/3B6nqdLLearn how to use the DETAIL PANEL in Lightroom to.

Unlocking the Power of the Basic Panel in Lightroom
The Detail panel in Lightroom often does not get as much attention as it should, with many photographers opting to leave it at its default settings. However, it can make an appreciable difference.

Lightroom Detail Panel Explained YouTube
1. Sharpening - Amount This is exactly what it sounds like. This slider controls how intense the sharpener enacts on the image. The sharpener looks for variance between pixels and heightens the.

How to use the DETAIL PANEL in Adobe Lightroom Classic YouTube
Lightroom tip: You can press Alt (Option on Mac) key + Left Mouse Button when hovering over the sliders, which will temporarily switch the image to black and white.This also works in Basic panel and Split toning. Amount. Amount slider controls the overall strength of the sharpening effect. It is usually listed as a percentage, but in Lightroom the amount range is 0-150 (for whatever reason).
The Usefulness of the Detail Panel in Lightroom Fstoppers
The Detail panel " - [Theresa] The Detail panel is used for sharpening and noise reduction. I'm viewing the chapter seven 0704 folder, and I've opened the Detail panel in the Develop module..
lightroom highlights and detail prefect editing tutorial YouTube
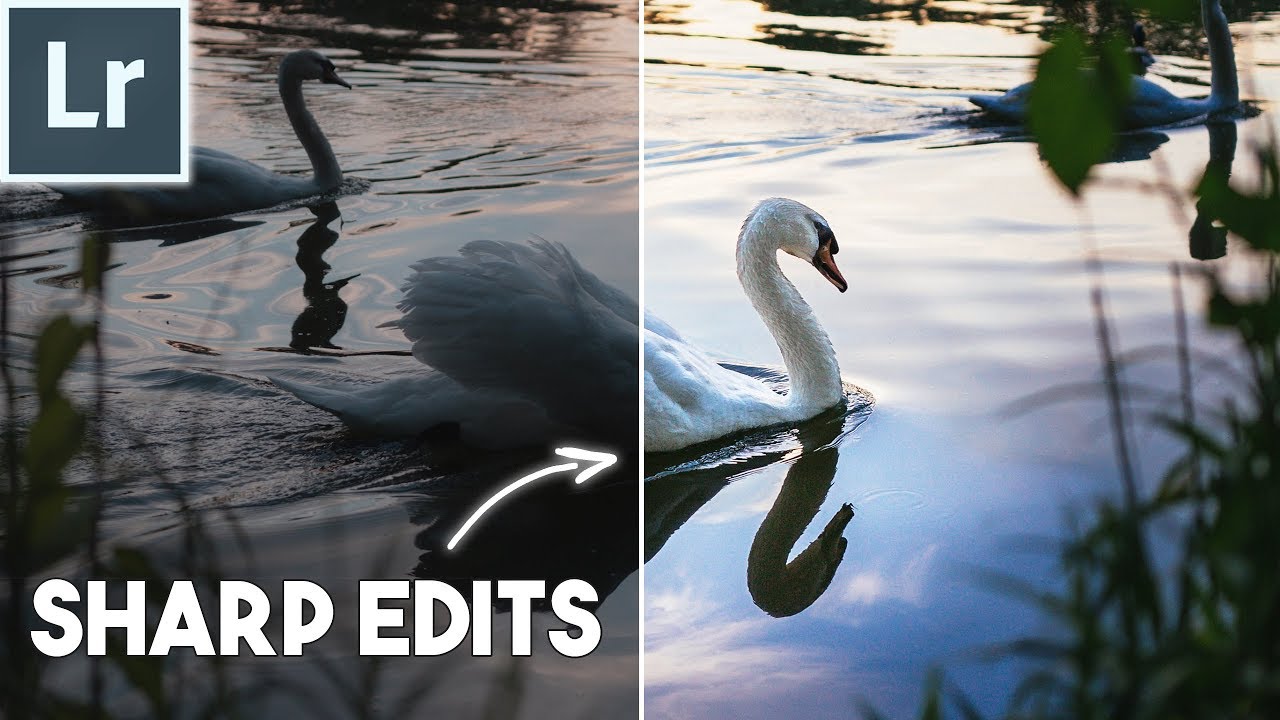
In this video I show you how you can use sharpening and the details panel to improve your photos in Adobe Lightroom. I will walk you through the basics of ph.